Look Development for Digital Creatures
TECH-411 •• Professor Bridget Gaynor •• Savannah College of Art and Design
Concept
This blog is to demonstrate my workflow, problems and their solutions for the course Look Development for Digital Creatures. I chose to go for a leopard/panther-like creature. The concept art I chose to reference is by Christopher Onciu. I am looking forward to create a photo-realisitic 3D version of this using Maya, ZBrush, Mari and Arnold.
Character History
This is a creature called Victor. An omnivores, he lives in the world of Pandora (Reference from the movie Avatar). The Pandoran biosphere teems with a biodiversity of bioluminescent species ranging from hexapodal animals to other types of exotic fauna and flora. He is 3 feet tall and about 8 feet in length (excluding the tail which is another 5 ft.).
Tangible - Real Life References
MODELING, BUMP AND DISPLACEMENT
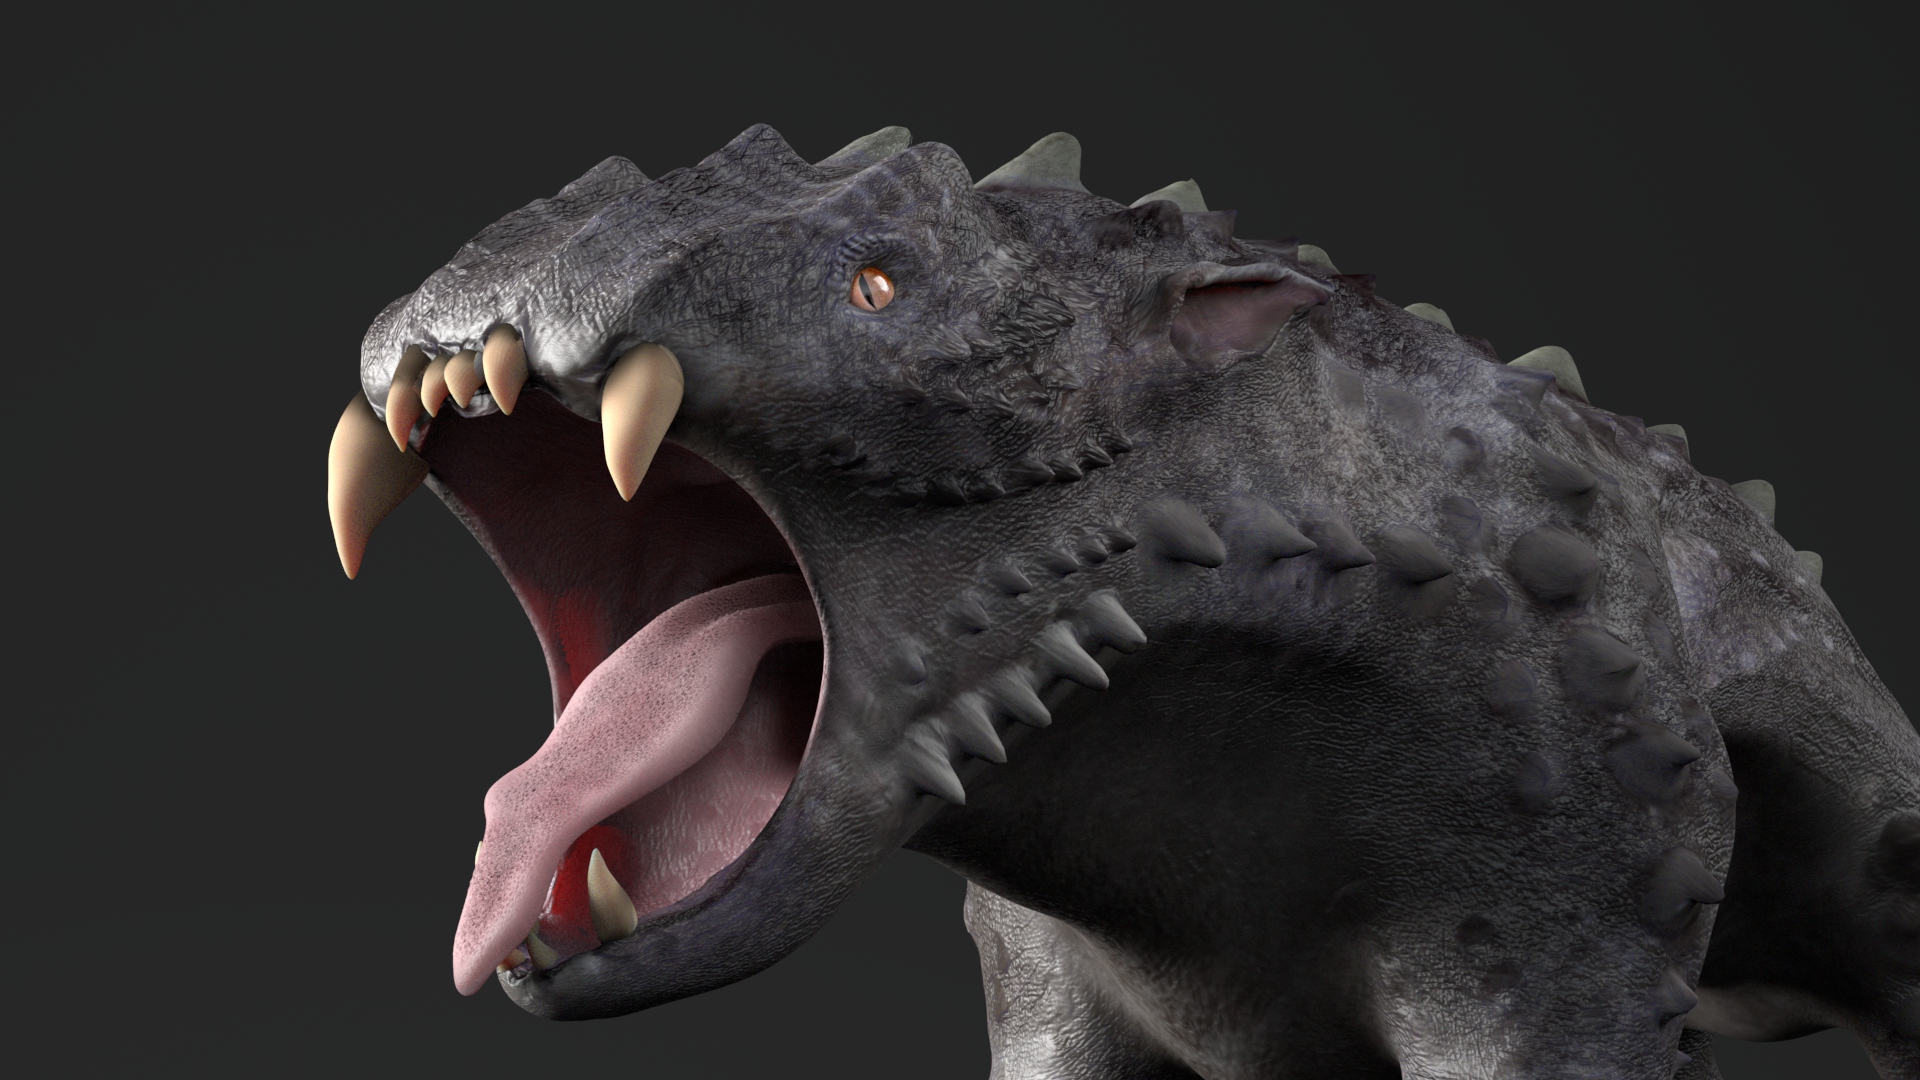
I modeled the creature in Zbrush:
Model from ZBrush.
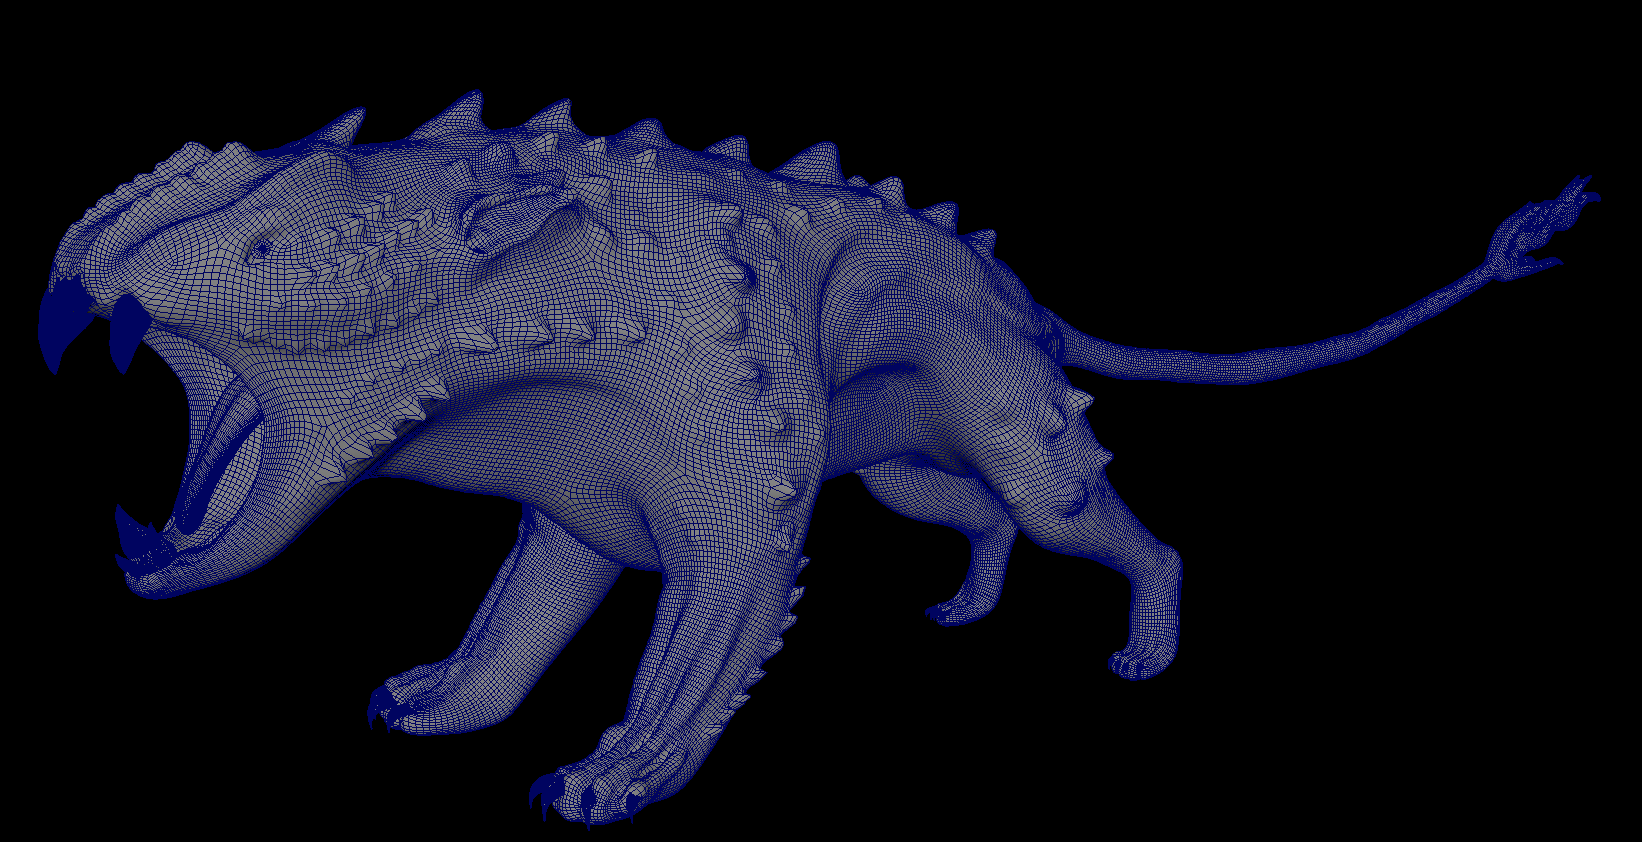
I then Z-Remeshed it, projected the details back on to the model and exported the base mesh to bring it to Maya.
I then unwrapped the model, and replaced the base mesh in Zbrush with unwrapped version. I placed head uvs on one uv tile and rest of the body on the other, each tile being 8k in dimension.
To get the rest of the details, I exported Displacement and Normal Maps from ZBrush and plugged them in the Maya Shader for the Model.
After rendering the model with displacement and normal map, it turned out that the spikes looked like blobs and the skin details were very low resolution.
After lot of troubleshooting, I figured that ZRemesh was causing the problem. So I went back and refined some details and re-painted some of them. The skin details started to look finer, but the spikes were still looking like blobs. So I tried exporting VECTOR DISPLACEMENT.
After I applied vector displacement to the shader, the model rendered in Maya was looking very close to what I had in ZBrush. Also, instead of using manual smooth, I used Arnold's subdivision cat-clark settings at iteration of 2. It is located under the attributes of the shape node of the model in "Arnold" tab.
SHADING AND LOOK-DEVELOPMENT RIGS
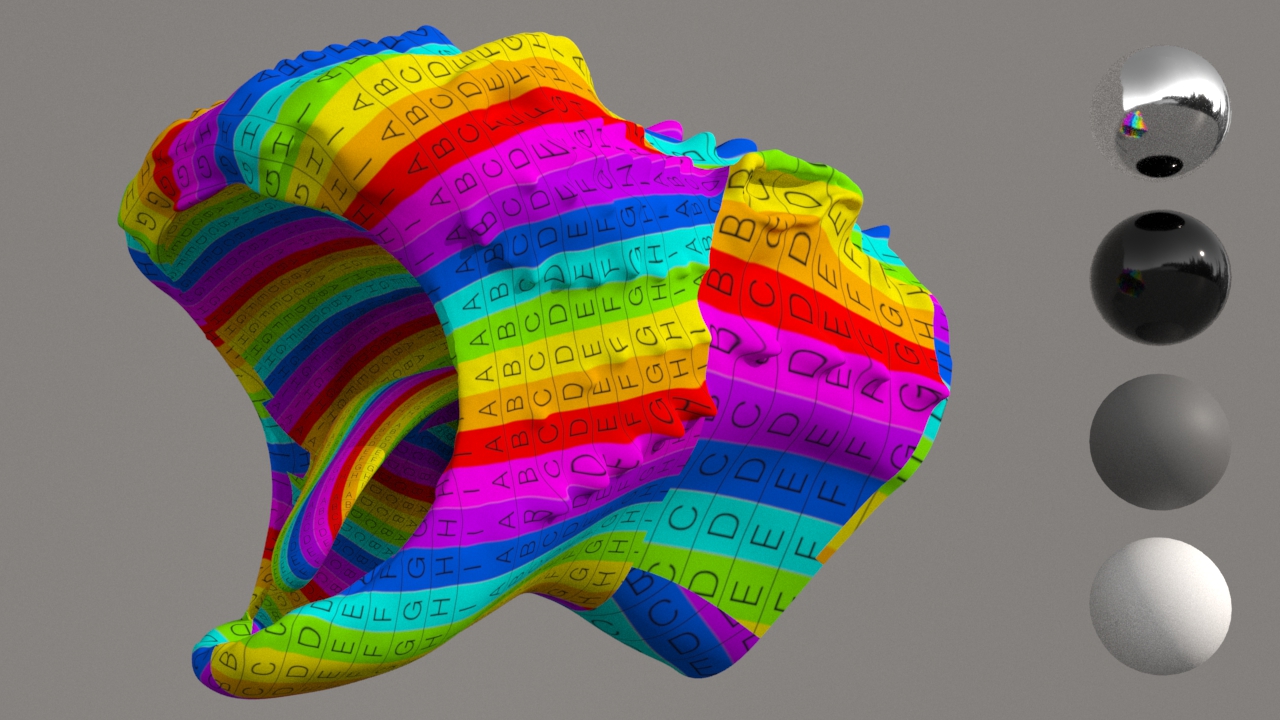
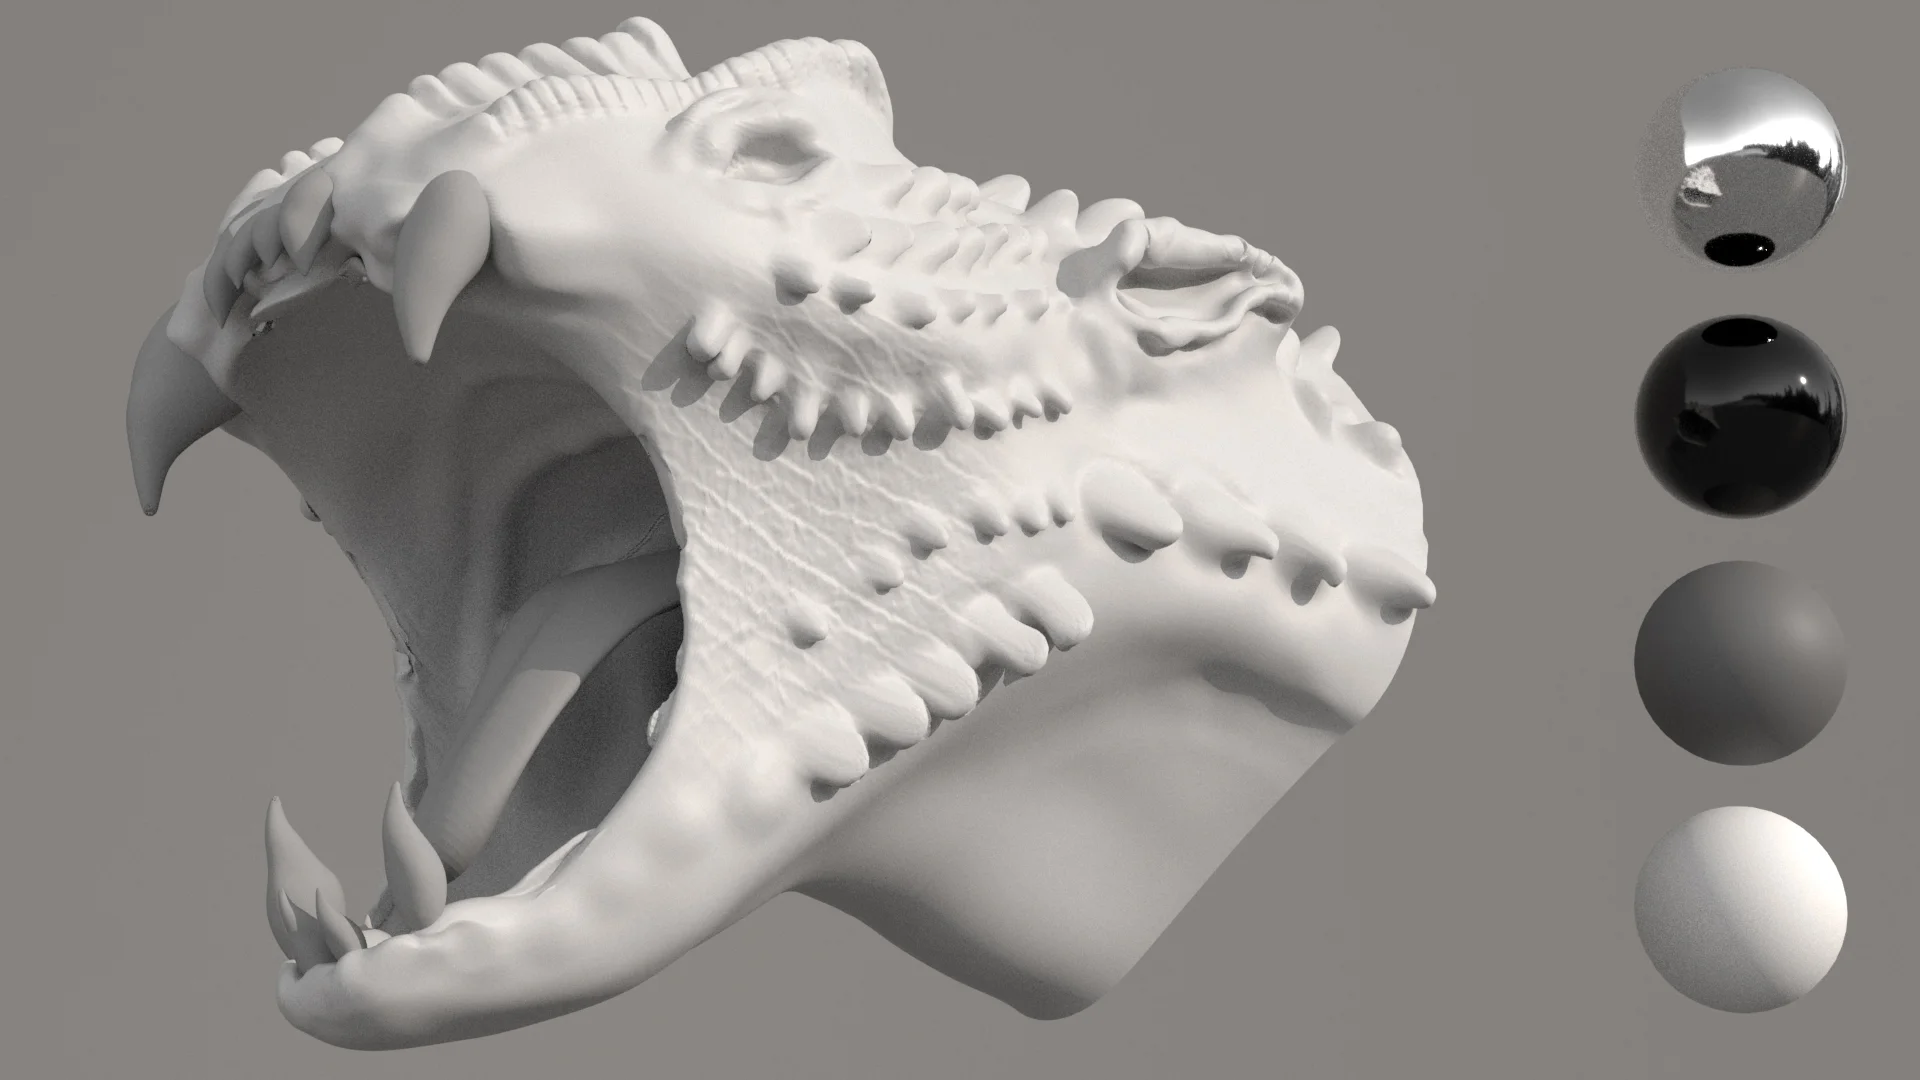
I started with a neutral look-development rig, which consists of a world-dome with a grey HDRI image, one key light and four shading-reference spheres with chrome, black plastic, grey matte and white matte materials. The goal is to do look-development for a character which can hold up in any environment it is put in, requiring minimum to no adjustments.
I then started testing out the subsurface on the model with AiStandard shader.
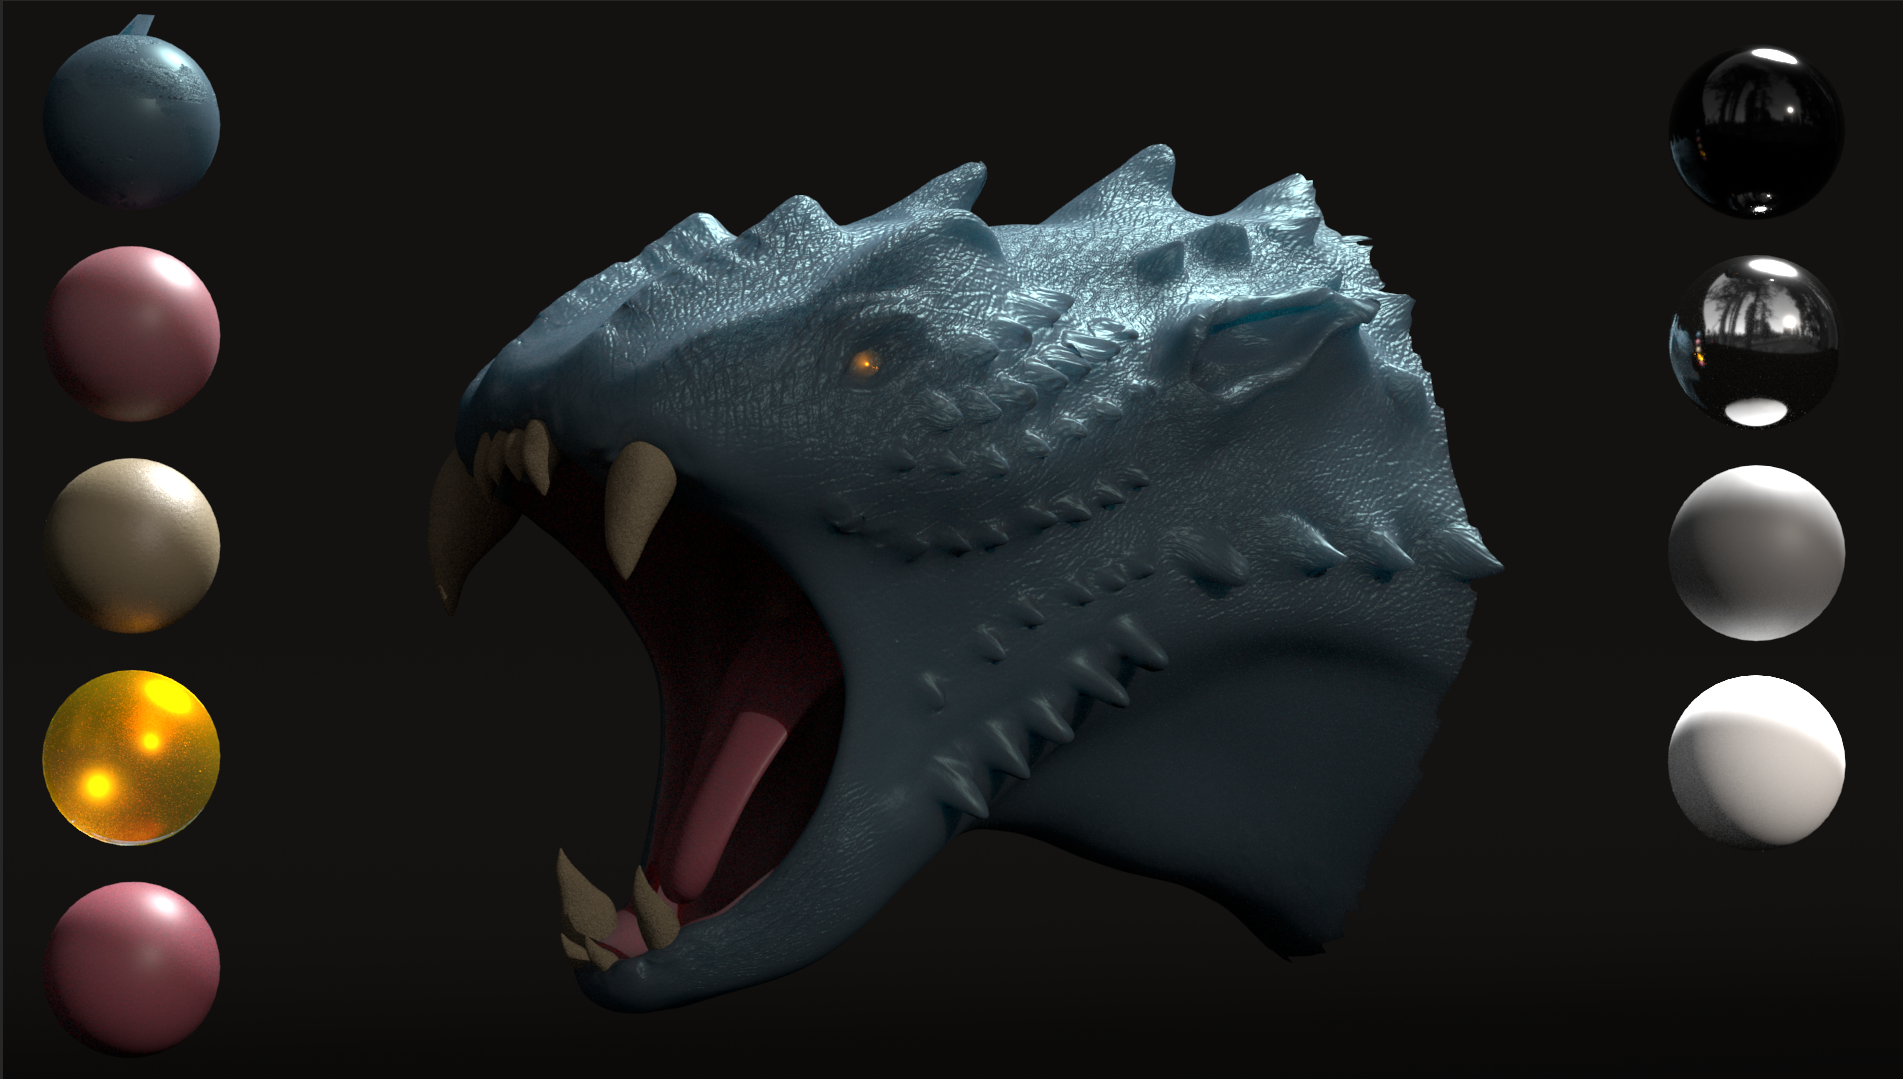
After adjusting shader more according to what I had in mind, I got the following results:
TEXTURES
Once I was happy with the shader, I started painting the texture maps based on the concept I chose.
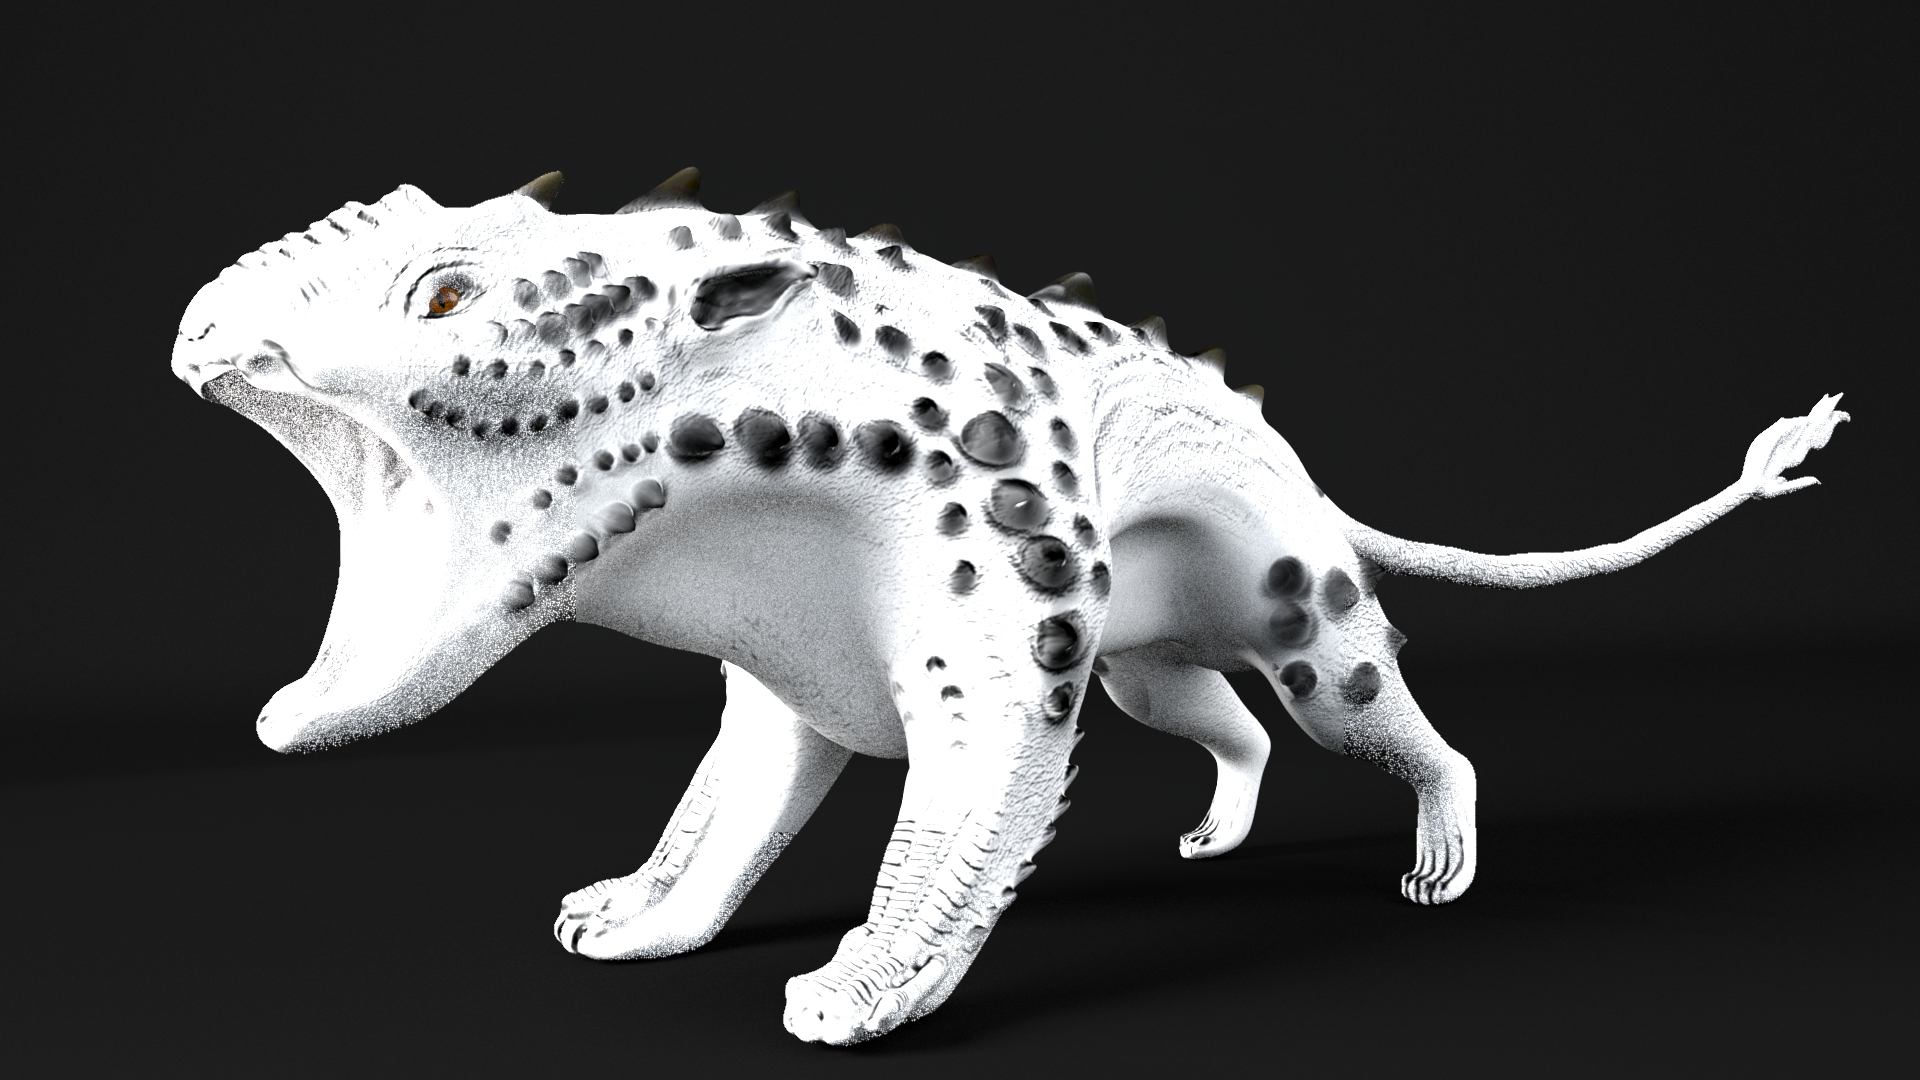
After plugging in the maps into the shader, the result looked like:
In Progress Render
In Progress Render

